

Solid state drive is a storage device that has been widely used in recent years. Its fast read and write speed and stability make it the first choice of many people. However, sometimes when we replace or upgrade a solid-state drive, we may encounter some difficulties, such as a screw that has slipped. How can we take it out?
First, we need to understand the reason why the screw slides. Usually, screw slippage is caused by damaged threads or improper use of force. Therefore, before removing the SSD screws, we need to evaluate the situation to confirm whether the threads are damaged or the threads are slipping due to improper use.
If the thread is damaged and the thread is slipping, we can consider using a drill to remove the screw. First, choose a drill bit that is one size smaller than the screw head, and then drill a small hole in the screw head. Next, use a drill bit one size larger than the screw head to expand the metal material around the screw head so that the screw head can be taken out.
If the slippage is caused by improper use of force, we can use the following methods:
1. Use glue to stick the screws: Apply glue to the screw head. After the glue dries, use a wrench to turn the screw. The screw can be easily taken out.
2. Use a rubber band: Put the rubber band on the screw head, and then use a wrench to turn the screw. This will increase the friction and make the screw easy to remove.
3. Heating with a lighter: Place the lighter close to the screw head, heat it for a few seconds, and then use a wrench to turn the screw, which can loosen the screw.
In short, no matter which method is used, we need to operate it carefully to avoid damaging the solid state drive or other devices. At the same time, after taking out the screws, we also need to check whether the threads of the solid state drive are damaged. If they are damaged, they need to be repaired or replaced in time.
How to take out the solid state drive screws that are slipping
Popular Products
-
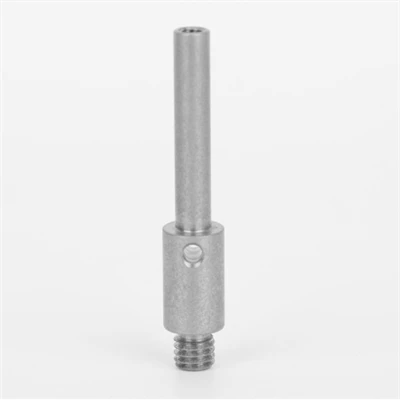
![Special & Stepped Shafts]() Special & Stepped ShaftsAotian special-shaped stepped shafts are processed from high-quality cold heading fine wire, widely used in...read more
Special & Stepped ShaftsAotian special-shaped stepped shafts are processed from high-quality cold heading fine wire, widely used in...read more -
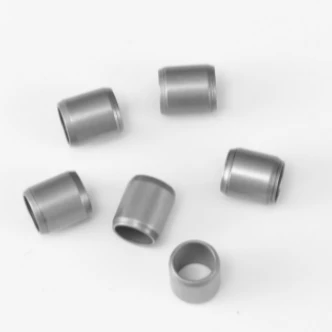
![Sleeves & Bushings]() Sleeves & BushingsAotian sleeve bushings are made of cold heading fine wire for automotive, motorcycle and other applications.read more
Sleeves & BushingsAotian sleeve bushings are made of cold heading fine wire for automotive, motorcycle and other applications.read more -
![SAE1008 For Screws And Rivets]() SAE1008 For Screws And RivetsCold-drawn low-carbon steel wire is made from ordinary carbon steel hot-rolled coils with a diameter of 6.5 or 8 mm,...read more
SAE1008 For Screws And RivetsCold-drawn low-carbon steel wire is made from ordinary carbon steel hot-rolled coils with a diameter of 6.5 or 8 mm,...read more -
![Cold Drawn Wire CH1T]() Cold Drawn Wire CH1TCH1T is a kind of alloy structural steel, which has suitable hardenability, and after suitable metal heat treatment,...read more
Cold Drawn Wire CH1TCH1T is a kind of alloy structural steel, which has suitable hardenability, and after suitable metal heat treatment,...read more

Send Inquiry